
How Do You Install A Bifold Door
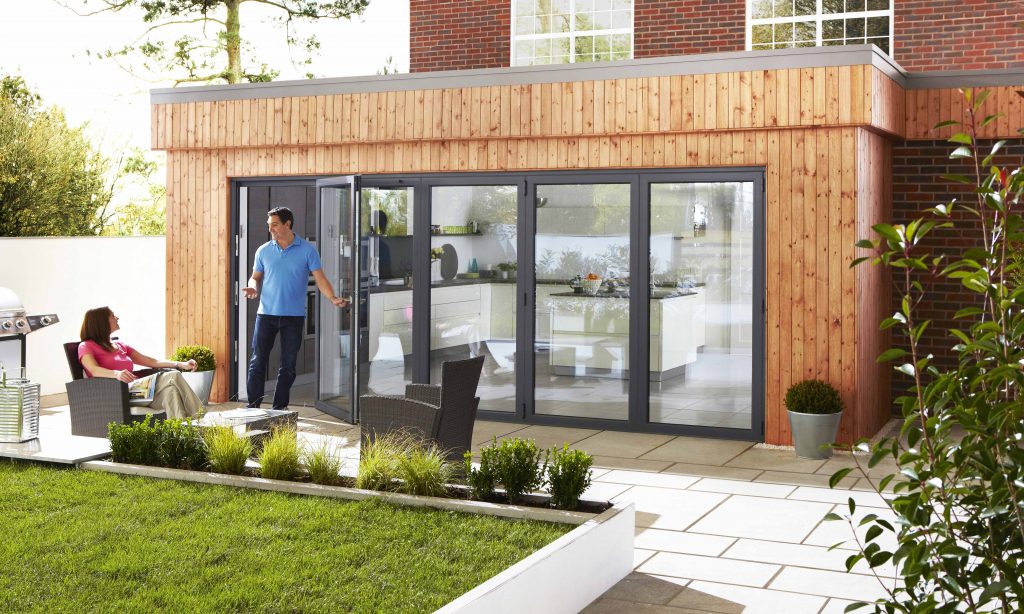
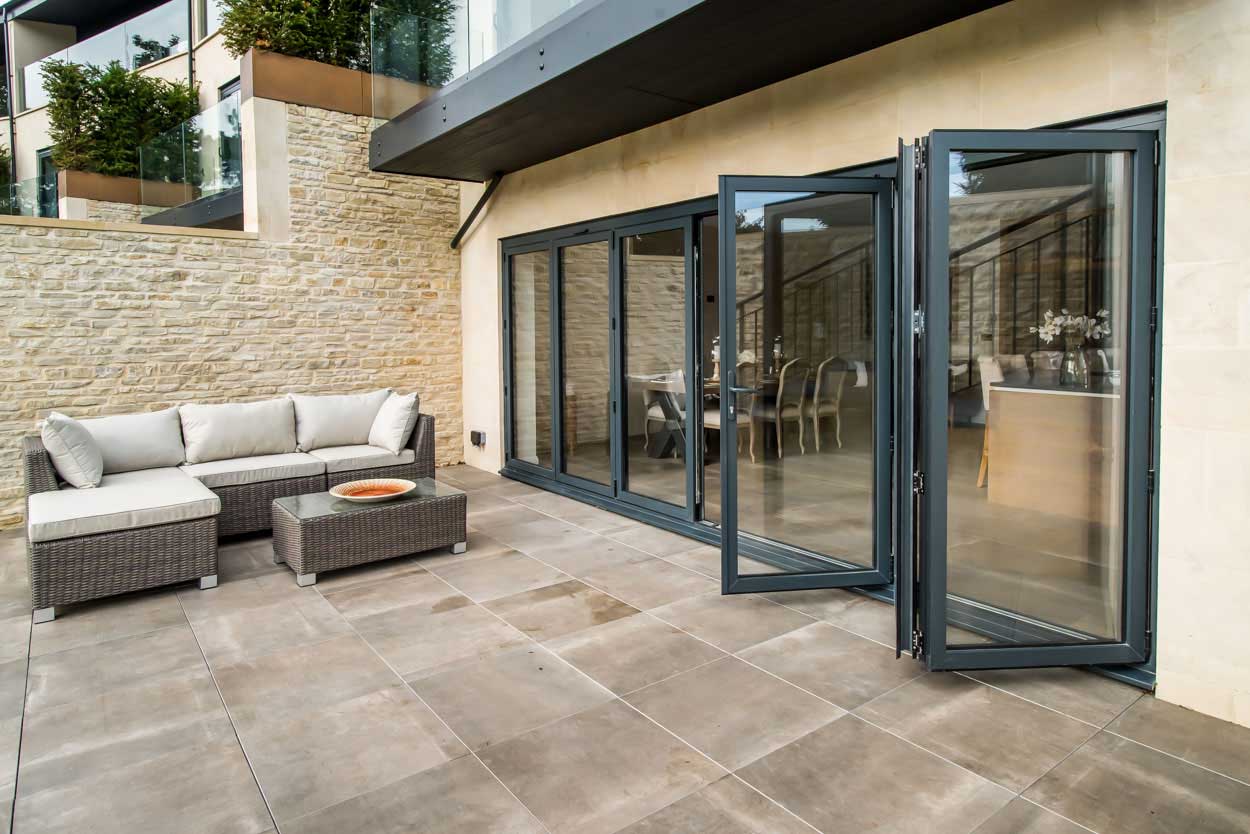
At Panoramic Bifolds, we supply and install bifold doors in Bristol and the surrounding areas. Bifold doors are soaring in popularity because they are easy to open and fold out like a concertina. This means they are compact and suitable for social gatherings.
Our team of installers has many years of installing bifold doors. But if you are wondering how a bifold door is installed, here is our easy step by step process. Read on to find out more.
Get Planning Permission for your Doors
As a bifold door is a big process, you may have to get planning permission to make sure an opening can be widened. If you want to create a completely new opening, you will likely have to get planning permission, so the best action to take is to contact your local council to see if they will grant it.
It is essential to take vital measurements on the door, which helps you plan where the new door fits. This will also help you decide how many panels your new door can take. Next, check the lintel above the opening and the opening itself to see if they are both in good condition. Once you’ve done that, you are ready to start the installation process.
What Tools Do You Need?
Before starting the installation, you will need a few specific tools, which include a drill, mallet, screws, a stepladder, measuring tape, door handles, and screws. Having these to hand as it ensures fitting in the door is easy.
Install the Track
The first thing to do is install the bottom track. This is done by applying silicone to the rebate and pushing the pieces together. Next, drill 2.5 x 25mm pilot holes, fix the jamb onto the head assembly, and screw them to ensure they are connected.
Secure the plates to the underside of the positions, then pre drill the lintel to the head, ensuring the tracks slot into the structure. Fit the bolts into the jambs, then place them into the walls so it doesn’t distort.
Mount Hinges Onto the Door
To mount the hinges on the door, position the pivot hinges on the top and bottom to ensure that the screws can be reached once the door has been hung. Next, position the aligner on the first line and then with a pencil, mark the two fixing holes.
To attach the track hardware, you will need to position it 19mm back from the front doorframe. Next, mark the left and right sides of the door frame, position the track between the marked line, and then remove the track with a 2mm wood drill bit. This helps secure the new bracket into place.
Attach the Floor Bracket and Hang the Door
To attach the floor bracket, slot the pivot retainer into the bottom bracket, ensuring there is no need to fix it as a floating bracket. This quickens the installation process. Next, fold the door at 90 degrees, placing the fixing ss into the pre drilled holes. Then, to hang the door, put it into position when the pins are engaged, and use the rubber mallet to knock the pivot holes into place. This gives a smooth transition from the roller glide into the track.
Attach the Aligner to the Door and Install the Door Pulls
Finally, attach the aligner to the door. To do this, you will need to screw a bracket to each door and slide the bottom pivot accordingly. This creates a gap for the door to fold out, helping make it more compact. Additionally, vertical adjustments can be made when you lift the door out of the bracket and screw the bottom pivot up or down.
Your bifold door is now installed and ready for you to enjoy.
Conclusion
We hope that this article has helped you understand how to fit a bifold door in your home. While it is not an impossible task to fit in on your own, if you are struggling with it, it is best to leave it to the experts. At Panoramic, we have many years of experience installing bifold doors, so we’re on hand to help you.
If you want to get in touch with us, fill in our online contact form or call us on 01179 560 449 and we will get back to you soon. We look forward to assisting you with your bifold door.
Categories: News